How would you like to learn about an inexpensive foundation that doesn’t require concrete and keeps your cordwood “up” off the ground? The following pictures, coupled with a brief explanation by builder Stu Bridge, help to clarify the simplicity and cost-effectiveness of the Post & Pier foundation.
The picture above shows the post and pier foundation completed and the timber frame beginning. The pictures below provide the step-by-step process.
Here are the post and pier foundation directions, in Stu’s own words. Remember this is not for a 16″ or 24″ cordwood wall, this is for an 8″ wall, which is half the weight of a full-width cordwood wall. “Yes, the foundation. I decided on a pier foundation for several reasons. Mainly it was for ease of getting to frost line with the least expense. I also liked the working height for assembling the sill for the timber frame.

The openness under the joists meant I could use bar clamps to hold down the sill as I bolted it to the blocking between the inside and outside joists. Air & water movement were unrestricted, plus there was storage for ladders etc. I had a local farmer dig me fifteen 5 foot holes with a skid steer and auger. Best $100 I spent. I could cut the posts much more easily in my shop at home. No generator noise! Food and coffee were mere yards away. Helpful!! I cut the outside rim joist shoulders (2×10), interior joist shoulders (2×8) and pockets for the center floor joists into the posts and hauled them to the site. Both perpendicular center joists are doubled and pocketed to a double post transferring all eventual building weight to the posts, so as not to rely on joist hangers for anything more than secondary sheering strength for flooring support.
The pictures tell the story best. 5/16″ lag screws hold the grid together. Joist hangers are screwed, not nailed.
All posts had a 4″ solid block (or rock) as a punch pad under them. The holes were backfilled with 1″ drainage rock topped with class 5 gravel tamped. Levelling was done with a water level for speed and checked for squareness constantly during the build. Fussy work to be sure. I let it settle for a few days and tweaked it just before starting the sill layout for the timber frame. We had a couple of big rains with no issues before moving to the decking/sill phase, so it passed with flying colors to my mind.”
Level and square each corner and each side of the post with a good quality 4′ level.
The timber frame starts to show its muscle.
It’s always a best practice to cover your work at the end of the day.
The interior shows-off the timber frame, the cordwood and bottle ends.
“We had decided early on the cordwood would only be the front wall. Since it would be 8″ thick it would not be super heavy but certainly stout! The addition of the porch gave us cover to work for the most part. We doubled up the posts where the porch met the building for compression strength. We attached a ledger for the porch with lags, then flat laid a 2×10 ground contact treated sill as a base screwed frequently to the joists underneath. The doorway was defined by the sill. The door frame is only 5″ thick so the cordwood would have a 3″ reveal around it, including above the top lintel. We figured the porch with its natural drainage would keep the mortar from being in any kind of standing water situation, plus being sheltered by the roof it would last longer than us!”
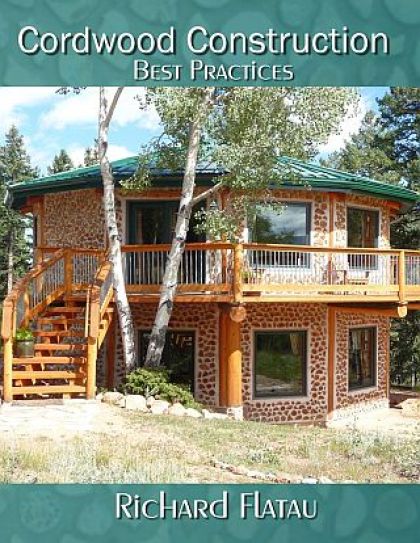
Should you wish to learn how to build a cordwood cottage, cabin or home, please visit www.cordwoodconstruction.org While you are there, click on the pictures, read the brief articles, check out the latest workshops and newsletter and if you are interested click on the Online Bookstore to see all the cordwood literature available in print, video and ebook format.
If you have questions that aren’t answered on the website you can email me at richardflatau@gmail.com

Readers have requested a brief bio, so here goes:
“Richard & Becky Flatau built their mortgage-free cordwood home in 1979 in Merrill, Wisconsin. Since then, they have written books, conducted workshops, facilitated the 2005, 2011 and 2015 Cordwood Conferences and provided consultation for cordwood builders. Cordwood Construction: Best Practices DVD (2017), Cordwood Construction Best Practices book (2017) and Cordwood Conference Papers 2015 are the newest publications available from their online cordwood bookstore. www.cordwoodconstruction.org

Click on the picture if you would like to order this “Best Practices” DVD.


