
Bottle Logs and How to Make ’em
![]()
You can make bottle bricks (logs) by simply placing two bottles together and taping them. Or you can cut each bottle and tape them together. Here are pictures showing how to make bottle bricks. In this case, a picture is truly worth a thousand words. The finished bottle ends are being pricked with a map pin to allow moisture to transpire. (Editor’s note: If your bottles are completely dry there is no need to make a pin hole.)
 Dozens of bottle ends are ready to provide a spot of light in the wall. We have found that that aluminum flashing needs to go to within an inch or two of the end on each side for maximum light transfer.
 How did we make all of these bottle bricks? It is important to start collecting a large number of bottles and vases ahead of time. The glass must be clean and dry. It helps if the labels are removed.
 There needs to be an ample amount of clear and colored glass to brighten your walls.
![]() Sometimes even paws and a wet nose are helpful to sort and select bottle sizes.
Sometimes even paws and a wet nose are helpful to sort and select bottle sizes.
Without a Tile Cutter: How to make a DIY bottle cutter Youtube video. https://www.youtube.com/watch?v=3G-mgF2ZzZ4
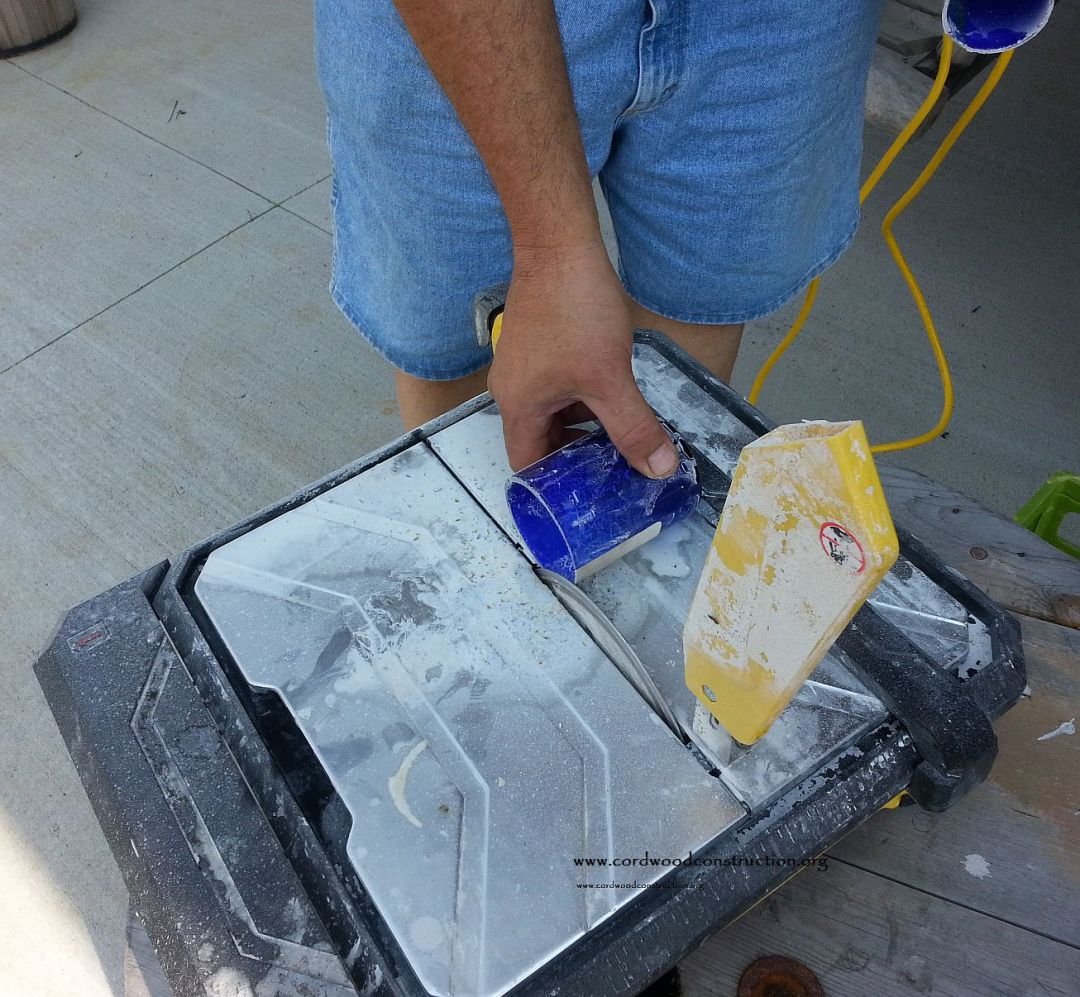
With a Tile Cutter: If you are building a thin wall (8 inches) you may need to cut your glass. You can use a tile cutter or a homemade bottle cutter. Always use safety equipment. In the picture below the Bottle sections are (4″ + 4″ = 8″)

The best Youtube video we have found about making bottle bricks using a tile cutter (with safety advice) is at https://www.youtube.com/watch?v=qUwUA4jLtb0&t=22s
Below are a set of pictures showing how to put two bottles together “WITHOUT” cutting.
Note that the neck of one bottle is accepted by the opening in the other. This is especially useful when using bottles with different diameters. (Oval, diamond, rectangle, etc.)

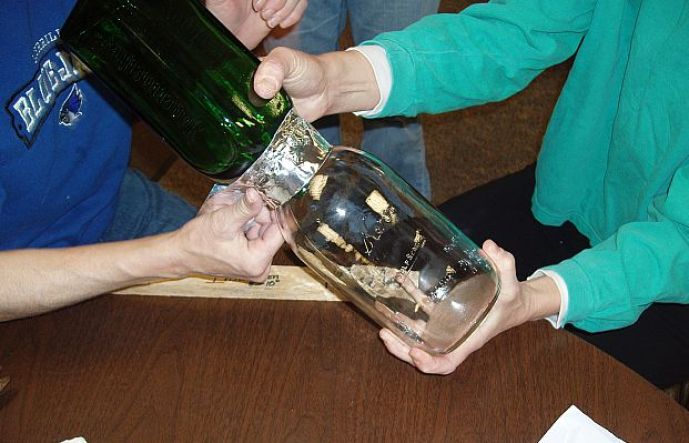
It is good to have extra hands.
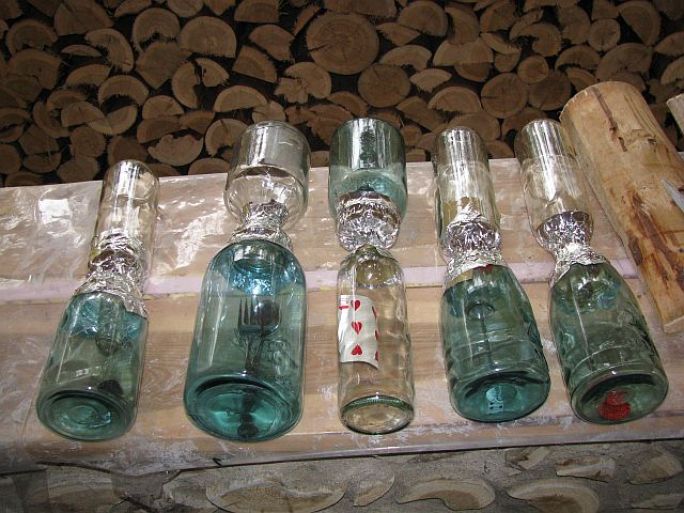
Objects can be placed inside bottles. These are being used at the Cordwood Education Center, which is a cordwood public school classroom. Aluminium flashing and tape were added to these before placement in the wall.

Sponge Bob finally makes his debut in a wall that is not in an ocean.
Flashing is then applied and aluminum or duct tape.
The middle bottle (below) is the best example of how to finish a bottle brick.
![]()
Finished products: bottles, aluminum flashing, aluminum tape
![]()
Placing the bottle bricks in the wall.
![]()
Some fine examples of bottle brick walls.
![]()
A whole wall of bottles at Honey & Mike’s.
![]()
Beautiful bottles at Ravenswood.
![]()
Ted Amman in Wisconsin has started using colored bottles on the INSIDE AND OUTSIDE. Ted loves the way it makes the exterior wall look.
![]()
KimAnna uses bottle bricks in the most amazing ways. Let your imagination be your guide.
Should you wish to learn how to build a cordwood cottage, cabin or home, please visit www.cordwoodconstruction.org While you are there, click on the pictures, read the brief articles, check out the latest workshops and newsletter and if you are interested click on the Online Bookstore to see all the cordwood literature available in print and ebook format.
If you have questions that aren’t answered on the website you can email me at richardflatau@gmail.com
![]()
Readers have requested a brief bio, so here goes:
“Richard & Becky Flatau built their mortgage-free cordwood home in 1979 in Merrill, Wisconsin. Since then, they have written books, conducted workshops, facilitated the 2005, 2011 and 2015 Cordwood Conferences and provided consultation for cordwood builders. Cordwood Workshop DVD, Cordwood Construction Best Practices (print) and Cordwood Conference Papers 2015 are the newest publications available from their online cordwood bookstore.” www.cordwoodconstruction.org


