
We’ve never built anything before but we’re very pleased with how it’s turned out.” Jan and Baz Whitlock sent pictures of their cordwood garden cottage in Bristol, England. They used the ebook Cordwood Construction Best Practices as their go-to source/guide. Jan & Baz write: “Here are some pics of a small cordwood build we’ve nearly finished it in the middle of our garden in the UK.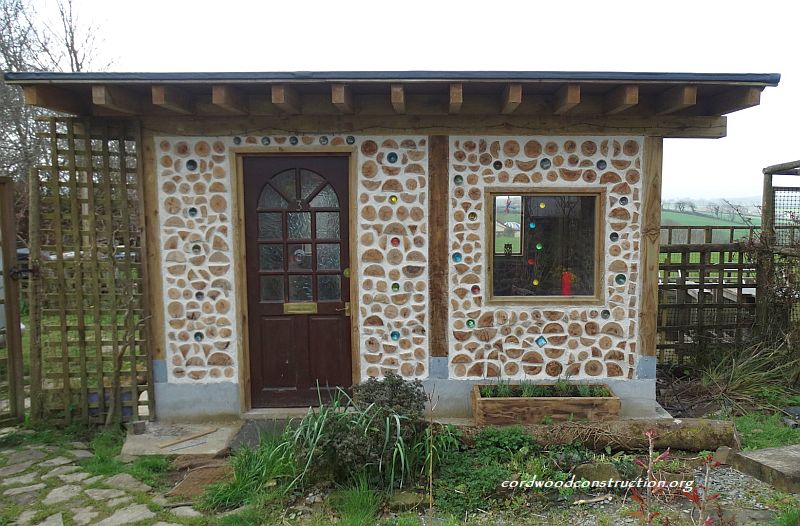 “It’s around 12 feet square, we used lime mortar, the wood is softwood-larch and pine. It’s in the garden between 2 areas. Front door to enter, back to get to next bit (side to BBQ area). I haven’t totalled the cost-the cordwood was free, mortar not much, but the post and beam frame and roof were costly… could have been done with much smaller beams etc – we just went for chunky so it would last.”
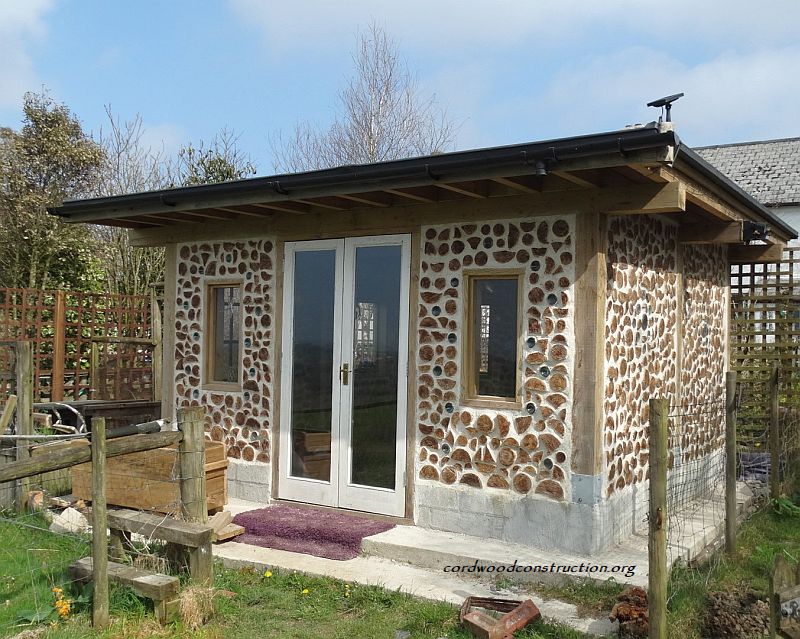
 We still have to render the blocks once we get a bit of decent weather. We are planning to insulate in between the beams, as we have found it retains heat well. We have electric and a radiator, so it could be used as an extra room to sleep in when the family all descend on us.”
 It is a lovely place to sit, we have great views & it’s a perfect spot to watch the sunset.
 “We just used the lime mortar-there’s a lot of old stone buildings around us with thick walls, all done with lime mortar and they’re still standing and cool in the summer so we figured it would be fine.”
 “We cut and dried the wood in our polytunnel for around a year, and dipped each log in a borax solution before using. The mortar was easier, as we have a nearby supplier of lime mortar, which we mixed using your instructions for lime putty mortar. We used what they call an unhaired course mix and added a bit of argical as it’s pretty damp in Cornwall. We mixed it in a cement mixer a batch at a time and after a while learnt how much wall we could do per bucket of mortar.
 It was really good to have a range of shapes and sizes for filling awkward gaps but I often wanted little triangular ones and wood does not split into 4 evenly. (We ended up with a nice lot of kindling!) I would advise anyone attempting a build with a partner to be sure they have a good relationship, as we had quite a few heated ‘discussions’ during the process (but were always ready to tackle it again the next day)!
 We could only get green or clear bottles, so after cutting I painted the inside end with glass paint that is set by putting in an oven-a few didn’t take well, but the majority did and it’s nice to have some different colour in there.
 Baz writes, “Another pic of the inside…using an old sanding disc, I used friction to “scorch” the wood to darken and bring out the richness in the grain and also to protect the cordwood...this part of the UK it’s very damp so charing the ends of posts etc without using chemicals is not uncommon. We will see how that turns out in years to come… for fun, under the window is “hidden” a sailing ship for our grandkids to find, on other walls there are a clown and a cat…skirting boards are nearly finished and the white double doors are going back to wood…it’s been fun and thanks for the positive feedback…ocean apart, but same ideas …happy builds, Matey’s…”
Should you wish to learn how to build a cordwood cottage, cabin or home, please visit www.cordwoodconstruction.org While you are there, click on the pictures, read the brief articles, check out the latest workshops and newsletter and if you are interested click on the ONLINE BOOKSTORE to see all the cordwood literature available in print and ebook format.![]() If you have questions that aren’t answered on the website you can email me at richardflatau@gmail.com
If you have questions that aren’t answered on the website you can email me at richardflatau@gmail.com
Readers have requested a brief bio, so here goes:
Richard & Becky Flatau built their mortgage-free cordwood home in 1979 in Merrill, Wisconsin. Since then, they have written books, conducted workshops, facilitated the 2005, 2011 and 2015 Cordwood Conferences and provided consultation for cordwood builders. Cordwood Workshop DVD (2018), Cordwood Construction Best Practices (print 2017) and Cordwood Conference Papers 2015 are the newest publications available from their Online Cordwood Bookstore. The books & DVD are also available as ebooks for a quick and easy shipping free download. www.cordwoodconstruction.org
This is the Cordwood Workshop DVD will show you how to build a best practices cordwood home.

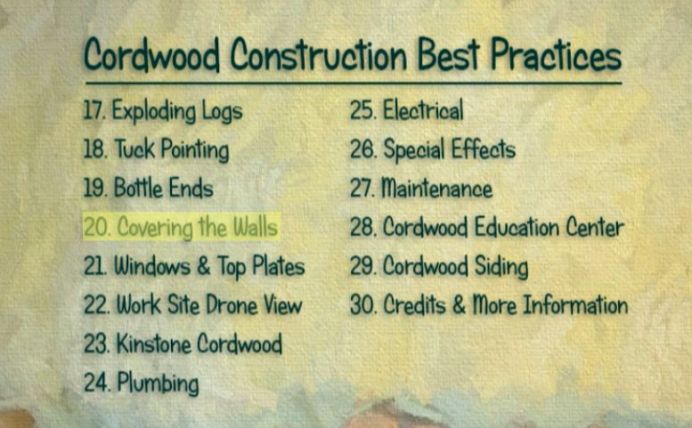
The 30 detailed menu items from the Cordwood Workshop DVD.

 Thank you for your kind attention to Cordwood Construction. If you would like more information, please visit www.cordwoodconstruction.org
Or email richardflatau@gmail.com


